

Mastering Lighting for Exceptional E-commerce Product Photography
The Role of Lighting in Photography for Creating Stunning E-commerce Product Photos
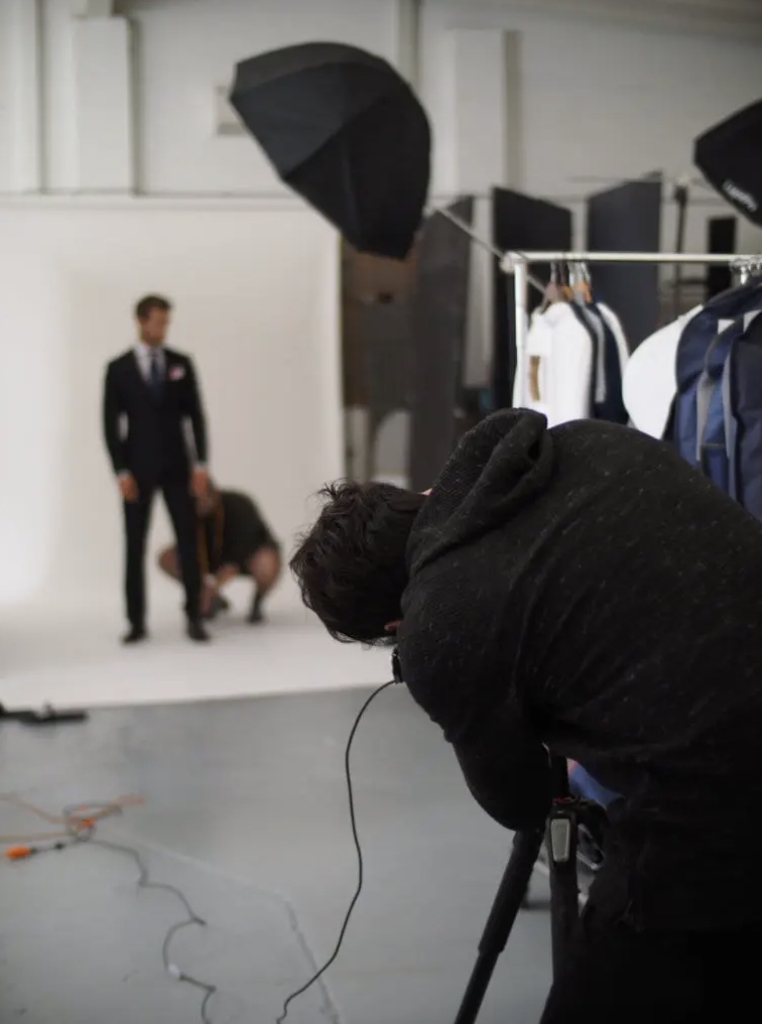
Think a great camera is enough for stunning product photos? Think again - lighting can make or break the shot.
In e-commerce photography, lighting is more than a technical element. It’s the key to transforming a flat product image into a captivating visual experience.
The role of lighting in photography stretches far beyond illumination. It influences emotion, clarity, and credibility, especially when your audience is just one scroll away from moving on.
From luxury fashion to wellness products, the right lighting setup makes the difference between ordinary and extraordinary.
Let’s explore why lighting matters in e-commerce, the different types of lighting styles and techniques, and how brands like yours can harness professional photography lighting to increase conversions.
1. Why Lighting Is More Than Just Illumination
Lighting isn’t just about making your subject visible. It’s about shaping perception.
Visual Quality and Depth
Great lighting reveals textures, creates dimension, and adds depth, helping your product leap off the screen. A poorly lit image can flatten your product and strip it of value, even if you’re showcasing premium goods. For instance, a hard light might make jewellery sparkle, but it can also cast harsh shadows that distract from the design.
Brand Identity and Mood
The lighting style you choose communicates your brand identity. Warm, natural light sets a relaxed tone for eco-friendly skincare brands. Cool, crisp studio lights enhance the sleek feel of modern electronics. Whether it’s soft light, rim light, or flat light, each approach frames your product in a unique narrative.
“Understanding how light works is fundamental to selling products online. It’s not just about visibility, it’s about storytelling through visuals.” — Creative Director, Design Identity
2. Types of Lighting in E-commerce Photography
Natural Light vs Artificial Light
Natural light (sunlight) creates authenticity and softness but can be inconsistent depending on the midday sun or a cloudy or foggy day.
Artificial light (e.g., LED panels, continuous light, ring light) gives you control, especially useful in studio environments or when shooting multiple products.
Some setups blend natural and artificial lighting to achieve balance, offering the benefits of both worlds.
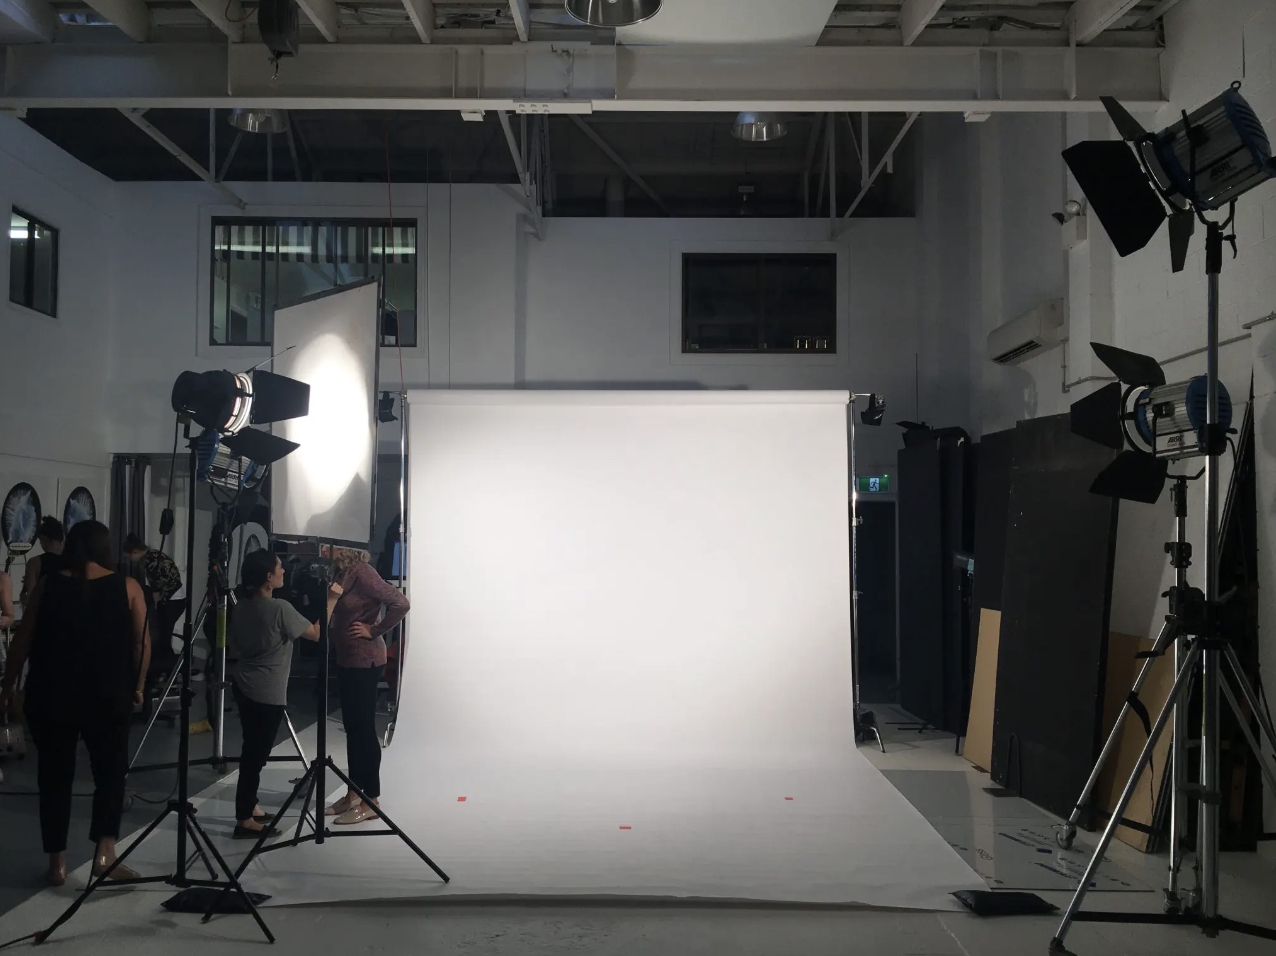
Lighting Equipment
Design Identity’s studio uses high-end lighting equipment, including
· Soft boxes and diffused light modifiers to minimise shadows
· Reflectors and bounce light tools to highlight specific product areas
· Strobe lighting and fill lights for precise control
These tools help create flattering light that highlights the subject’s face, textures, and finishes without overexposure or unwanted reflections.
Common Lighting Setups:
Loop lighting: Slight shadow under the nose, ideal for portrait photography
Rembrandt lighting: Characterised by a triangle of light under the eye, great for mood and drama
Butterfly lighting: Creates a butterfly-shaped shadow under the nose; flattering for beauty products and models
Split lighting: One half of the face lit, the other in shadow, for high contrast and edge
Broad lighting and short lighting: Used in portrait photography lighting setups to alter the perception of facial width and shape
A Case of “Lighting Gone Wrong” : A Personal Anecdote
During a campaign for a skincare brand, the initial shoot used only overhead lighting and no light diffusion. The result? Stark, washed-out images that didn’t reflect the product’s luxurious quality. Shadows obscured key details, and the harsh glare made the product appear mass-produced.
After reassessing the approach, the Design Identity team switched to a diffused light setup using a large soft box and fill lights positioned at a slight angle. The results were immediate: the skin of the models looked radiant, the products glowed with subtle highlights, and the overall feel aligned perfectly with the brand’s upscale aesthetic.
3. Lighting by Product Type
Each product category demands a unique lighting technique.
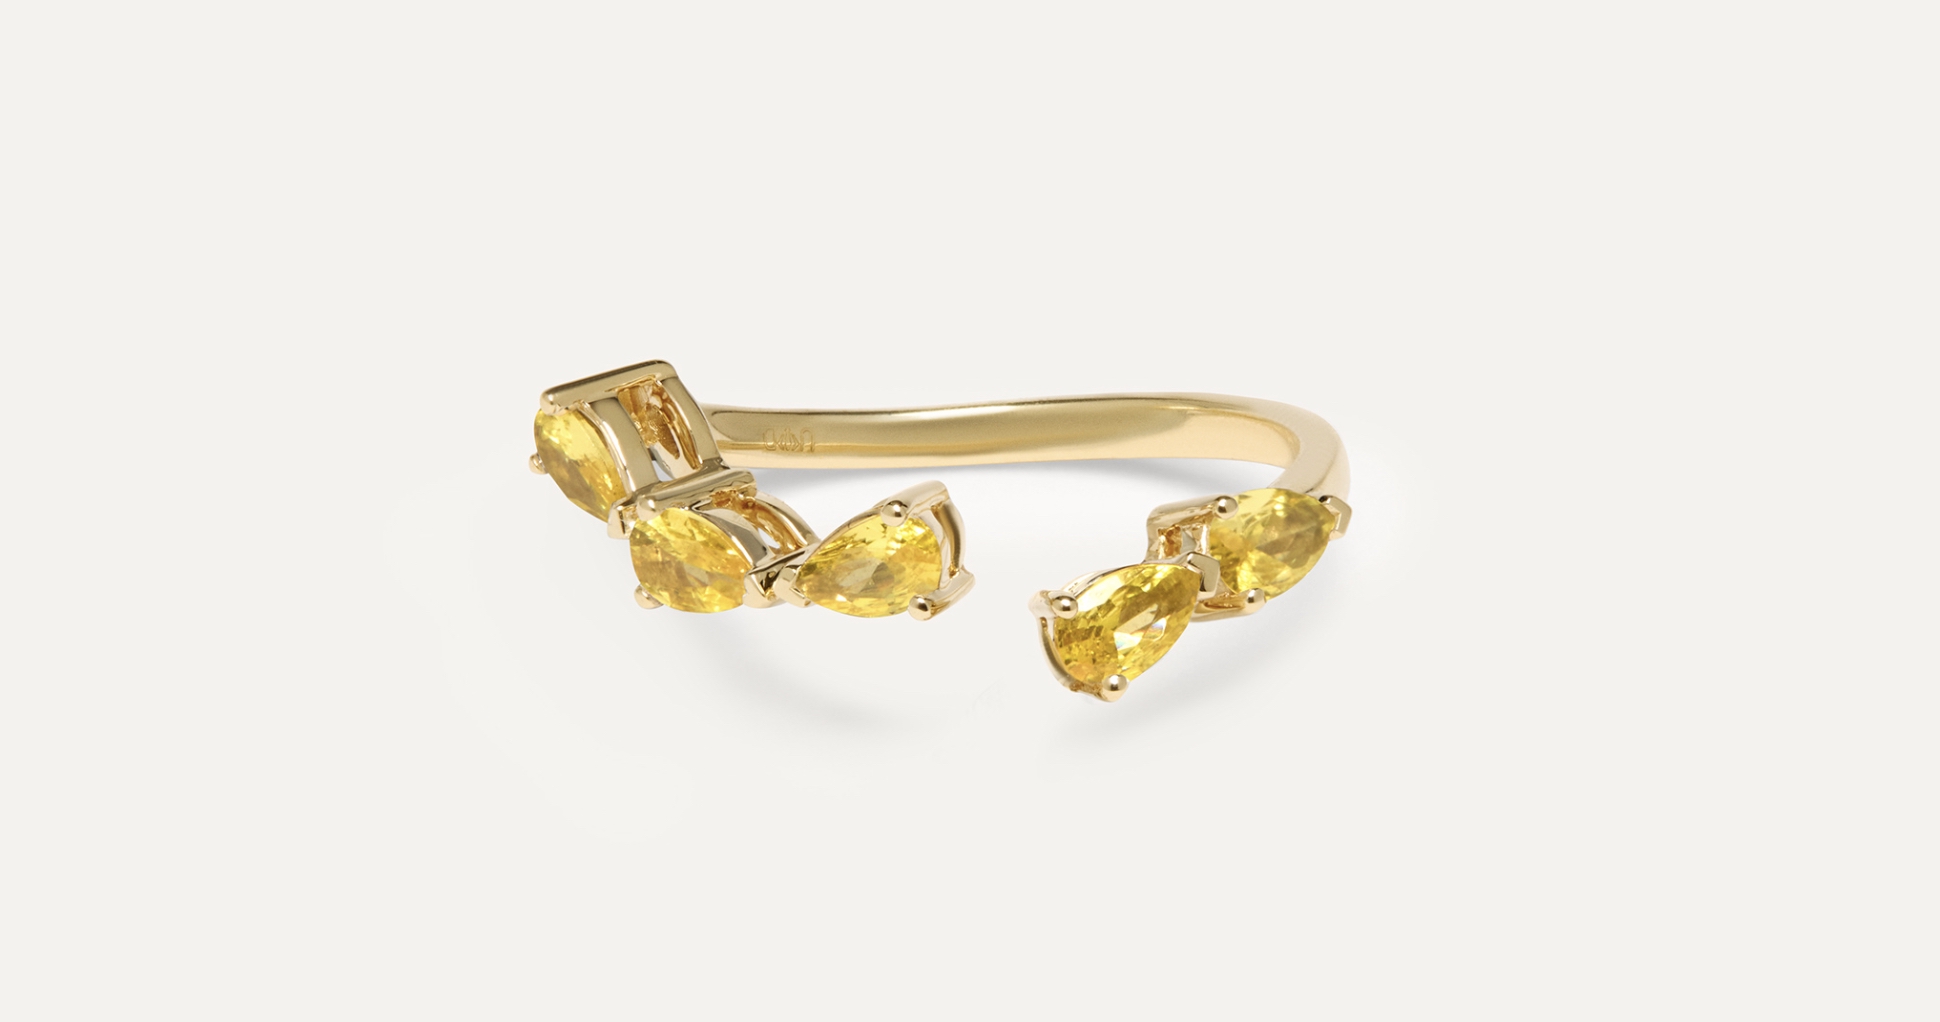
Jewellery
Requires direct light for sparkle but must be paired with reflected light to avoid overexposure. Light direction is critical to avoid reflections that hide details.
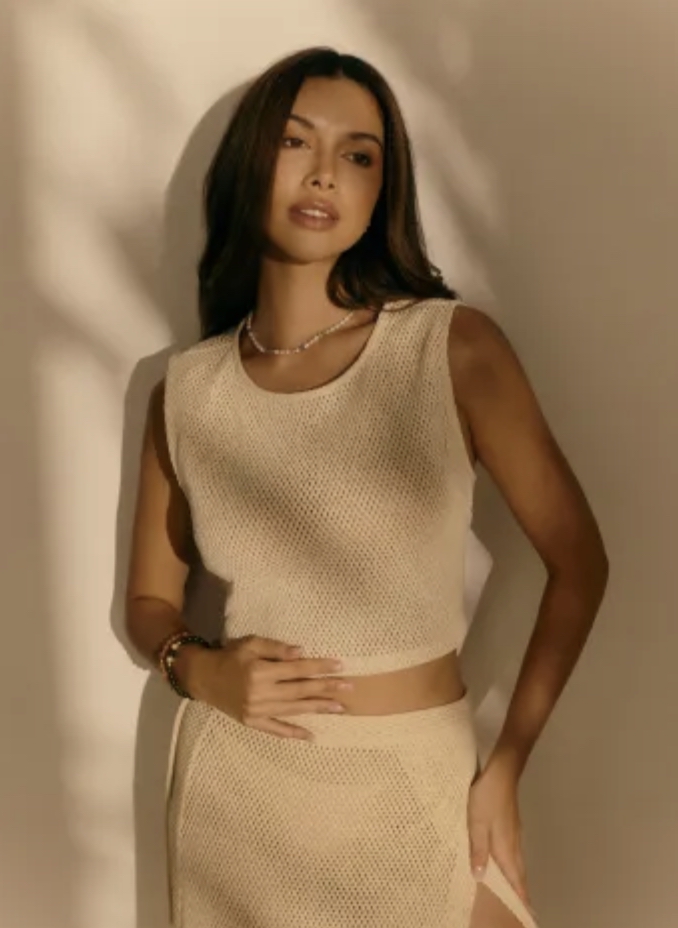
Fashion and Apparel
Uses a mix of front lighting, rim light, and loop lighting to highlight textures, drape, and fit. For fashion photography, lighting plays a huge role in ensuring accurate colour representation and emotional tone.
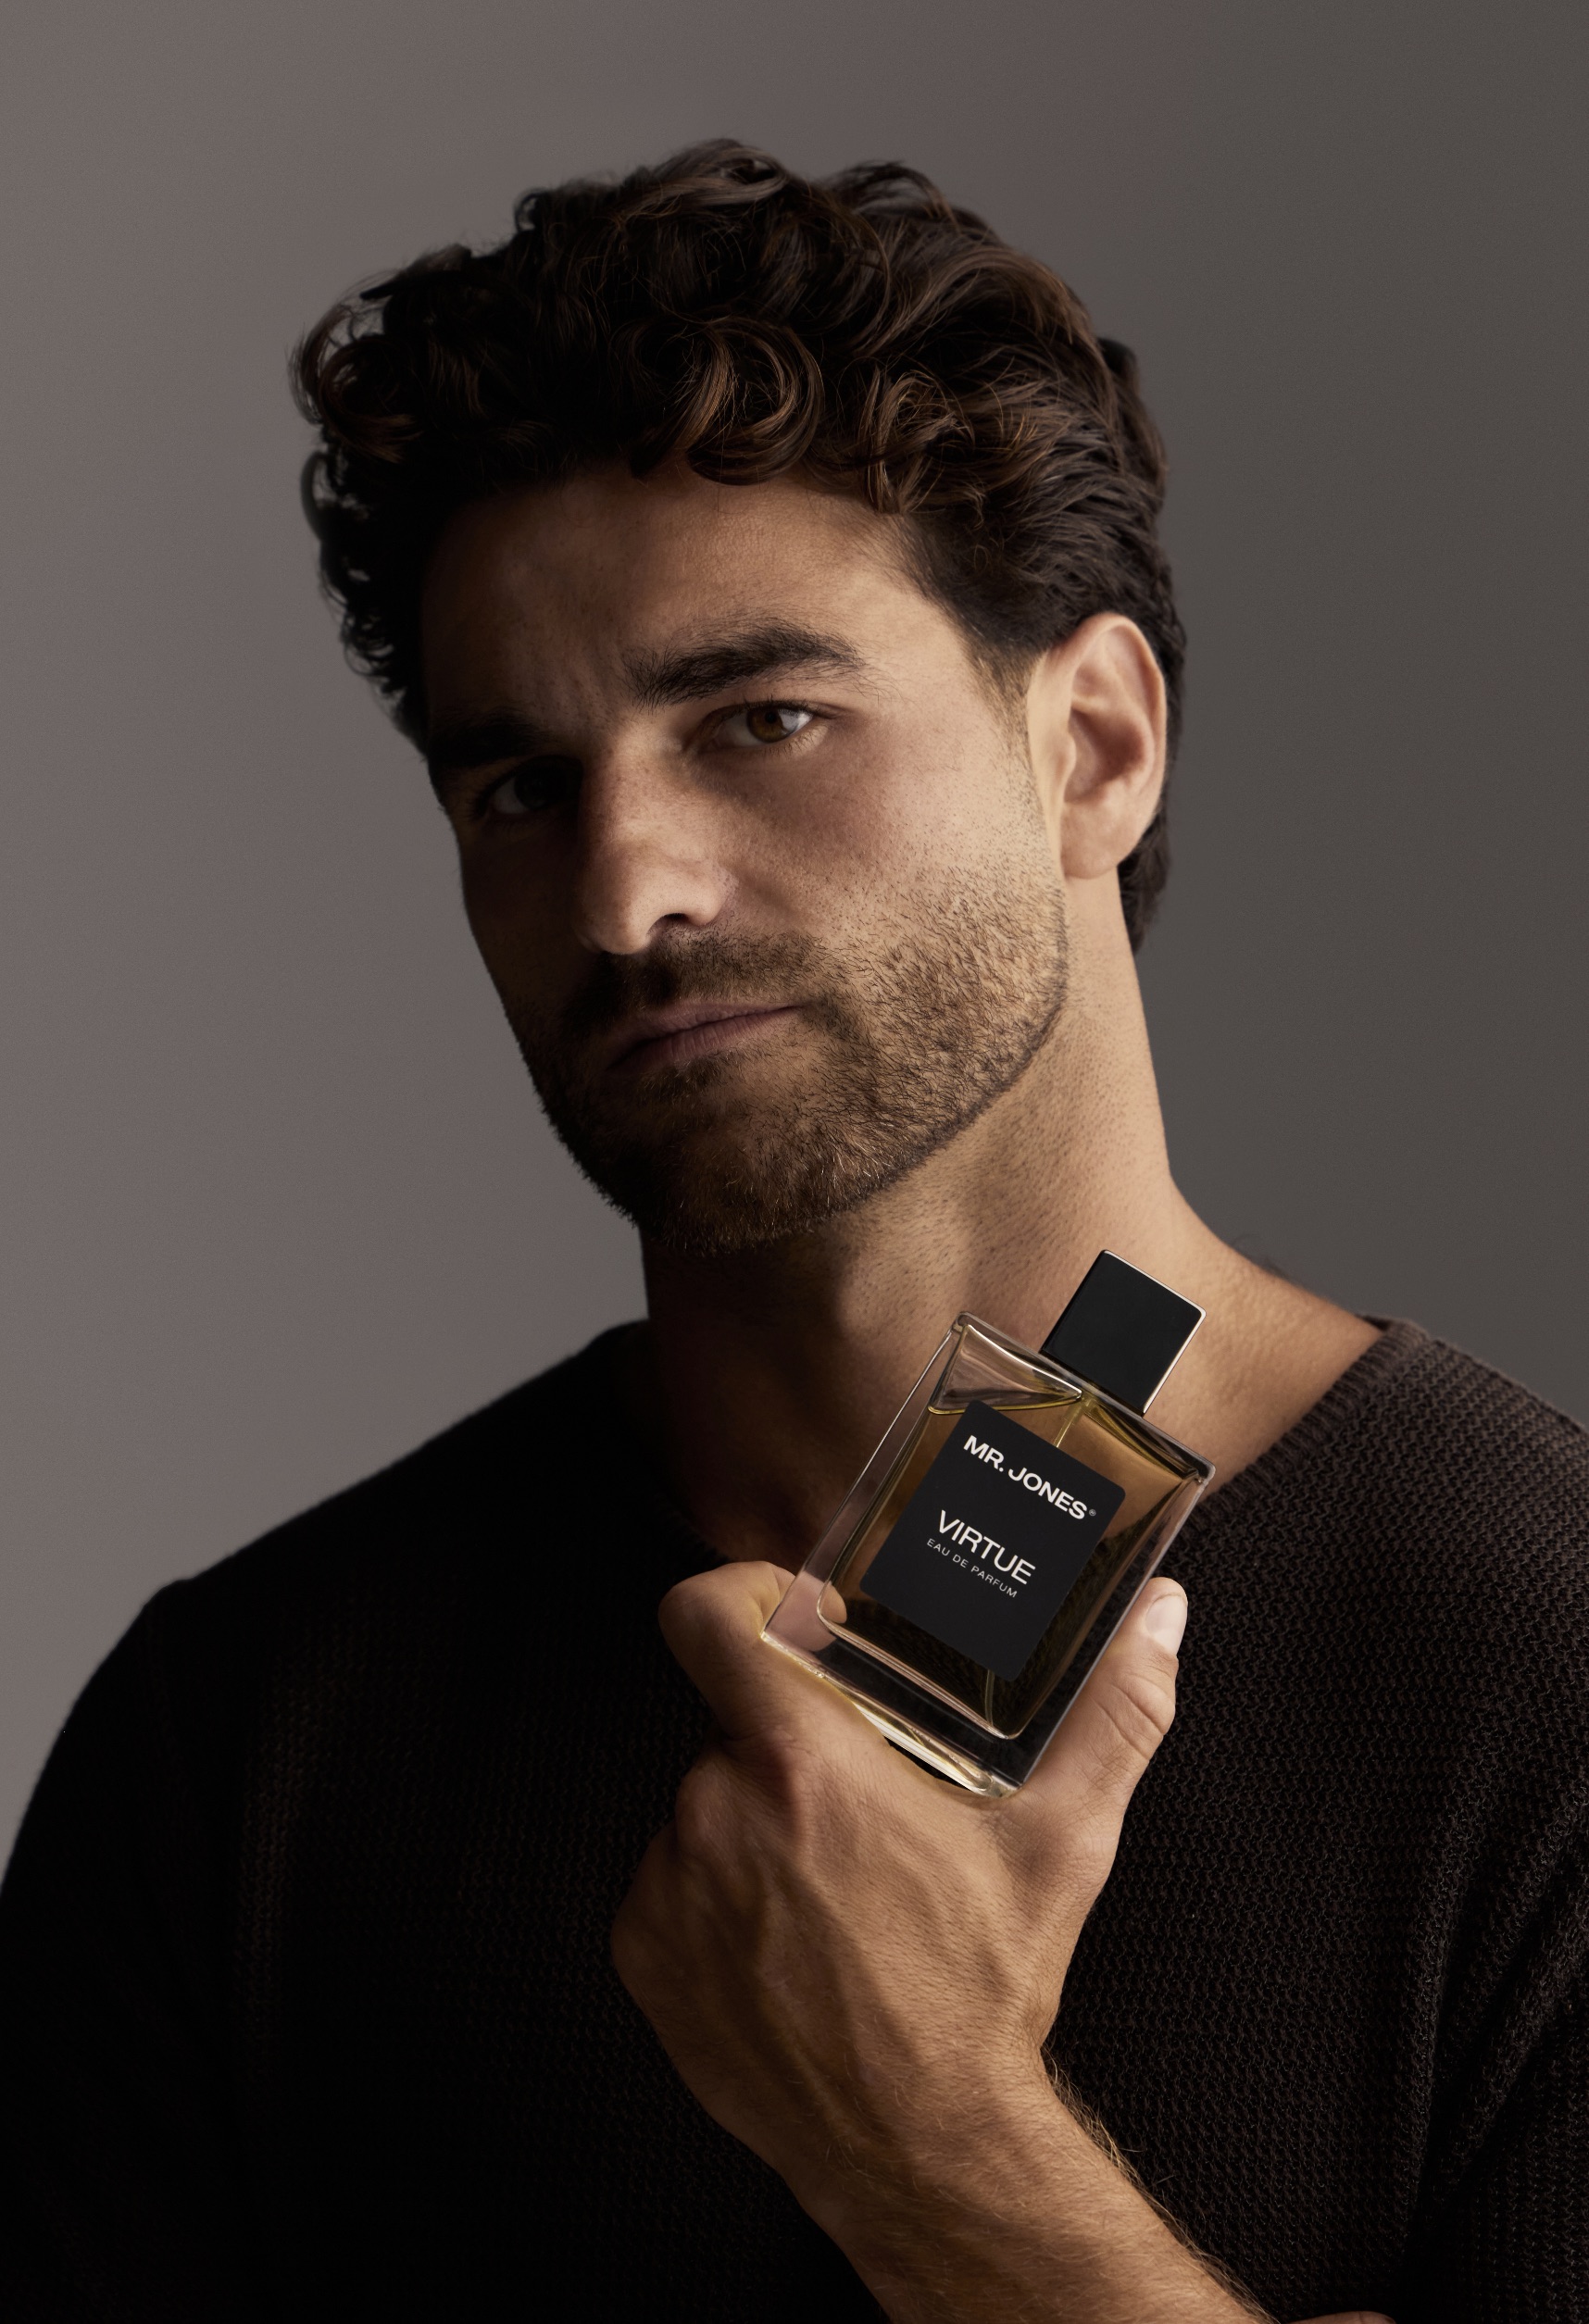
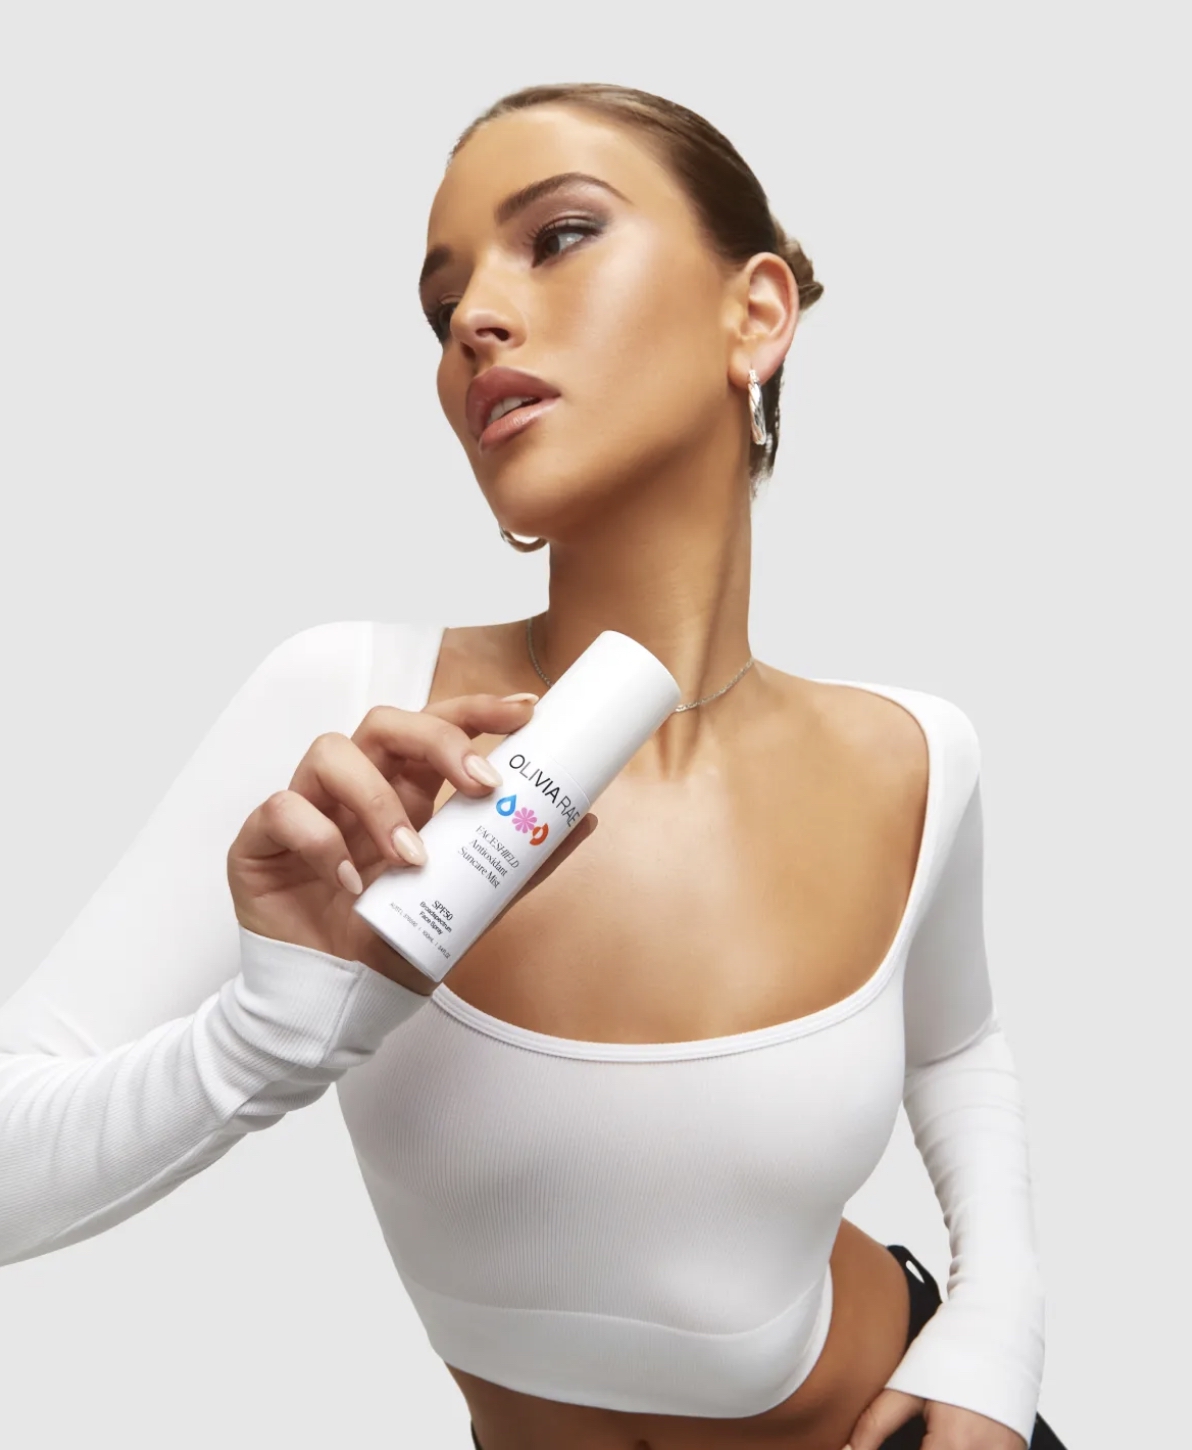
Skincare and Beauty
Relies heavily on soft or diffused light to create a sense of freshness and purity. A ring light or butterfly lighting setup enhances skin tones and product packaging.
Food Photography
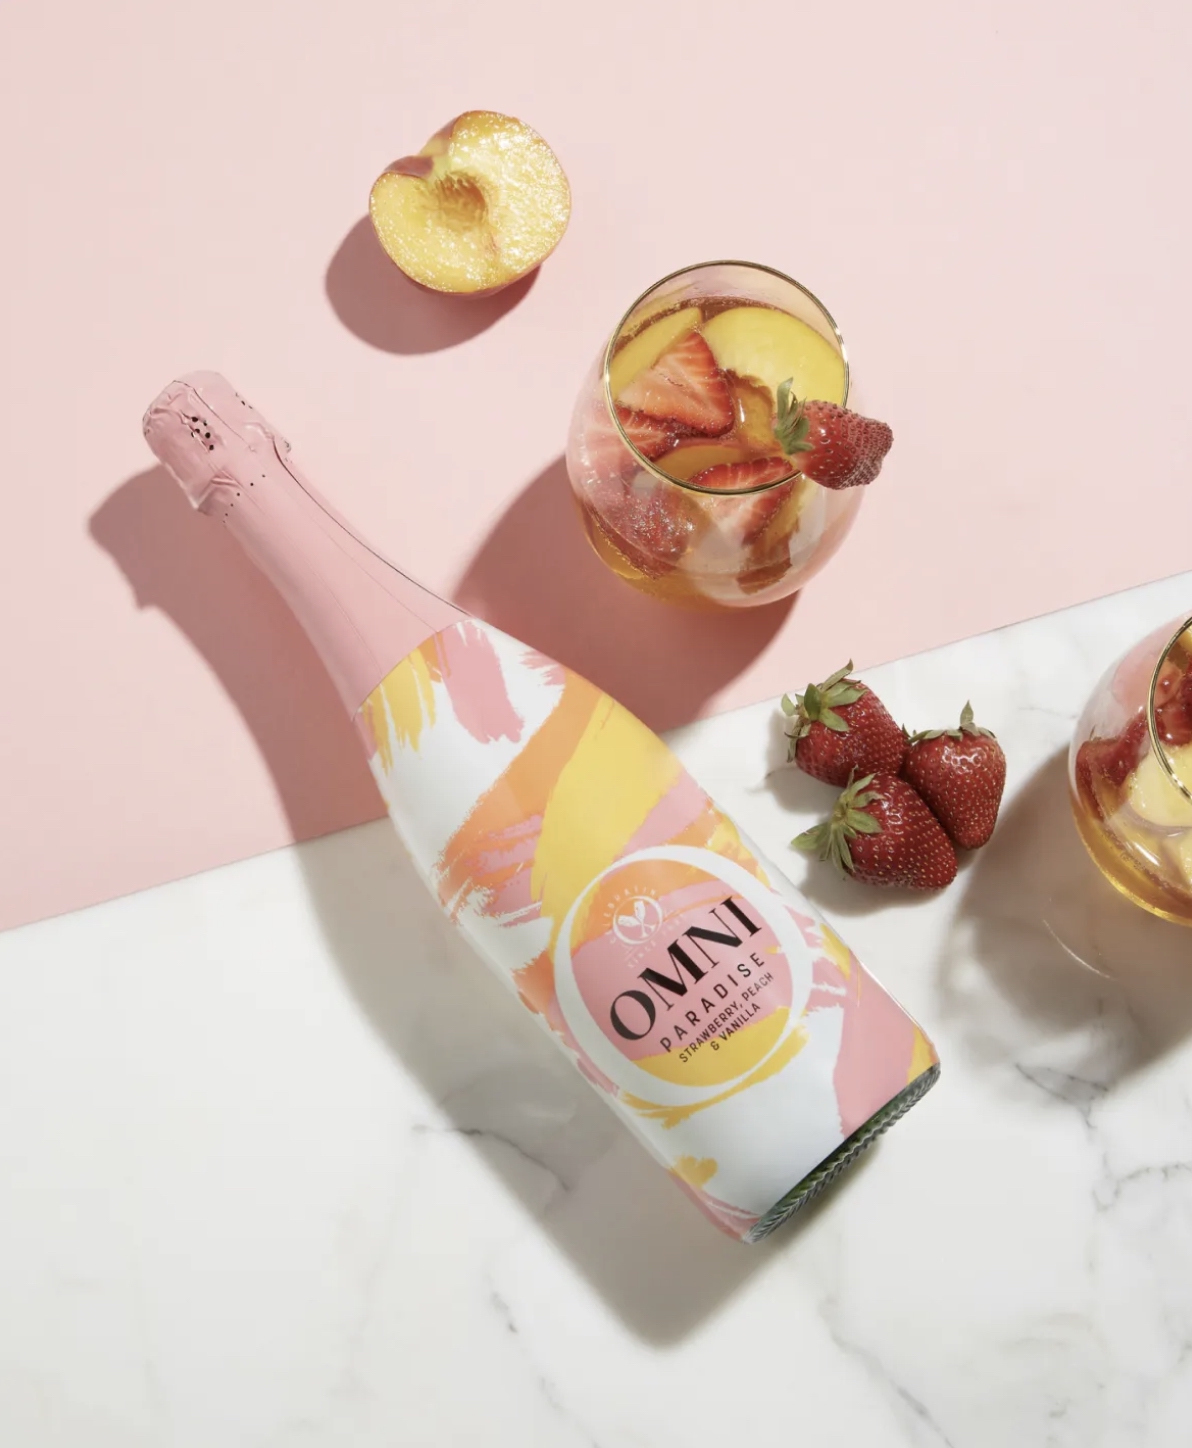
Often calls for natural light from the side or back, plus light diffusion to soften shine. A food stylist collaborates with the photographer to ensure light emphasises appetising textures.
Interiors and Lifestyle
Interior design shoots often require ambient light supplemented by studio lights or continuous light. Side lighting helps create dimension in room sets or home accessories.
“Our clients in fashion retail or beauty are often amazed at how much a lighting setup can change the look of a product. It’s about using the right portrait lighting technique for the story you’re telling.” - Senior Photographer, Design Identity
4. Lighting Tips for E-commerce Brands
DIY or Pro?
While DIY options with natural light and a white background can work for small shoots, they often lack the nuance needed for brand consistency. Without tools like alight diffuser, key light, and fill light, your images may look inconsistent across platforms.
What to Consider Before Your Shoot:
What is your product’s texture and finish?
Will it be used on Amazon, Instagram, or a printed catalogue?
Do you need to consider indoor photography lighting or outdoor lighting?
What mood or tone does your brand represent? Cool light or warm light?
Case Study: Fashion Retail Transformation
Amid-sized fashion label approached Design Identity with inconsistent look book images. By implementing a controlled lighting setup that included front lighting, rim light, and short lighting, we created a cohesive visual identity. Engagement on their social media accounts increased by 35%, and the bounce rate on product pages dropped significantly.
5. The Science Behind Lighting: Breaking Down Key Concepts
Key light: The main source of light in your setup
Fill light: Reduces contrast and softens shadows
Rim light: Highlights the subject’s edges
Ambient light: Uncontrolled, background light from the environment
Light diffusion: Soften slight for smoother gradients and reduced glare
Light rim: A halo-like effect that separates the subject from the background
Continuous light: Offers what-you-see-is-what-you-get control, helpful for still and video shoots
Light direction: Affects shadow fall, dimension, and product clarity
Even the light: Avoid shot spots and ensures uniform product visibility
Knowing when to use each technique - and how to layer them - is a skill built through experience and technical insight.
Where Light Meets Impact: Your Next Product Shoot Starts Here
Ready To See How Professional Lighting Can Transform Your E-Commerce Brand -
If you’re serious about improving your product visuals, start with lighting.
At Design Identity, we specialise in e-commerce imagery that’s not only high-quality but strategically crafted. Our full-service studio includes experienced stylists, creative direction, and expert control of photography lighting - from soft light to split lighting to advanced portrait photography lighting setups.
Partner with Design Identity’s product photographer in Sydney. Visit our website and explore our e-commerce photography services!
Studio Location: 25/34-36 Ralph St, Alexandria, NSW 2015
Phone: (02) 8339 0130
Email: bookings@designidentity.com.au


